
1. Prepare the linear guide rails: Start by mounting the linear guide rails on the designated surface, ensuring that they are level and parallel. Secure the rails in place using appropriate hardware.
2. Prepare the ball screw: Install the ball screw by threading it through the ball nut, making sure that it is properly aligned and centered. Secure the ball screw in place with appropriate hardware.
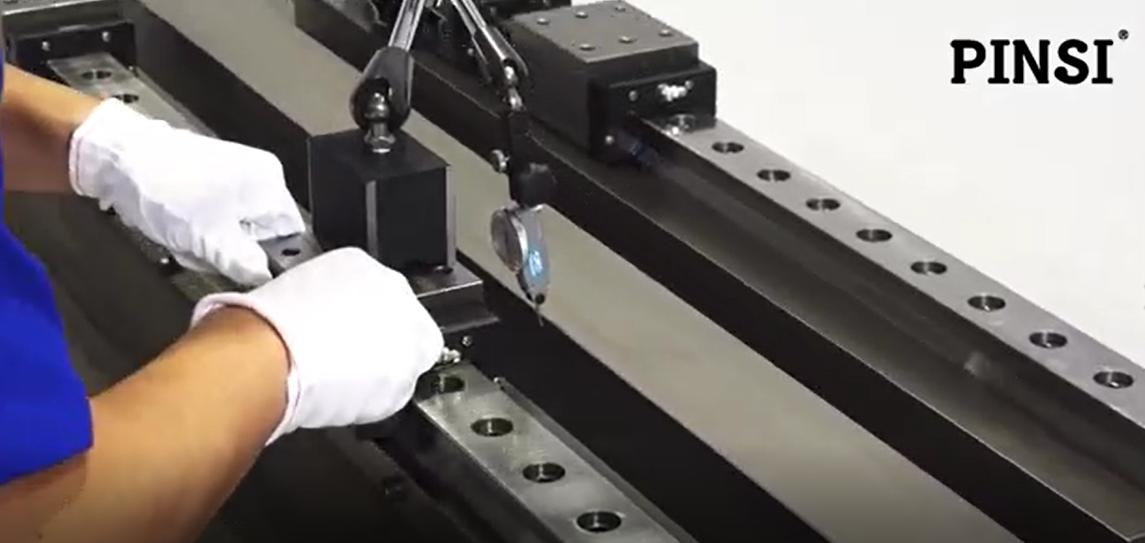
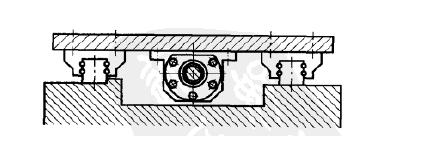
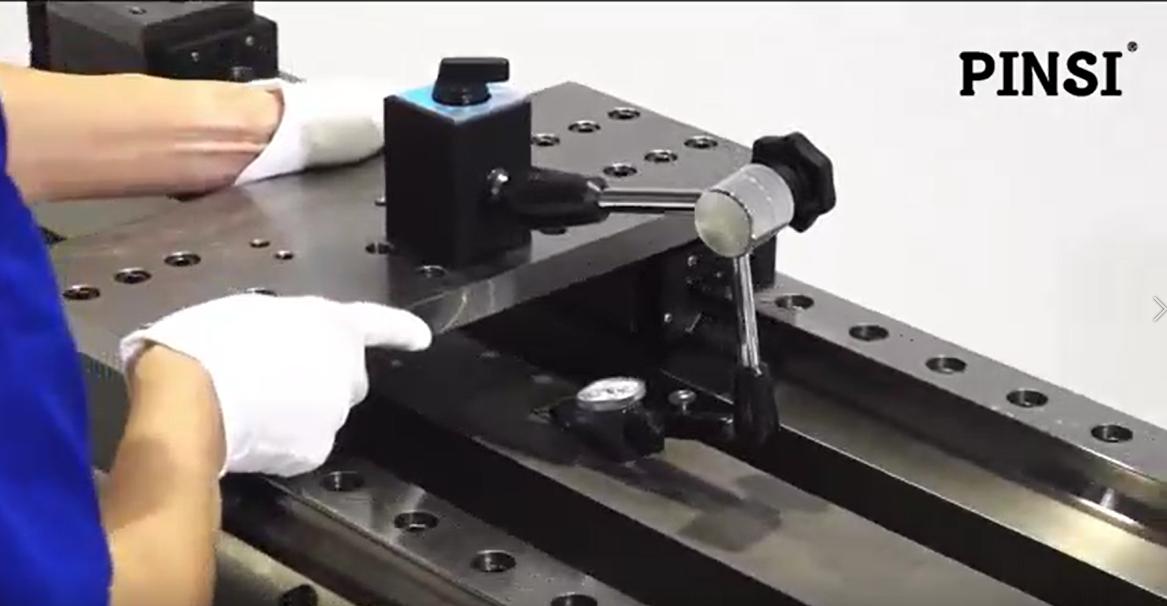
3. Align the linear guide rails and ball screw: Adjust the position of the linear guide rails and ball screw so that they are parallel and centered with each other. Use a dial indicator to measure the alignment, and adjust as necessary.
4. Preload the ball screw: Apply preload to the ball screw by tightening the end bearings to the manufacturer's recommended torque. This ensures that there is no backlash in the system, improving accuracy and repeatability.
5. Check for smooth motion: Move the ball screw along the linear guide rails to check for any binding or rough spots. Adjust as necessary to ensure smooth and consistent motion.
6. Test for accuracy: Use a laser interferometer or other precision measurement tool to test the accuracy of the system. Adjust the preload or alignment as necessary to achieve the desired level of accuracy.
7. Apply lubrication: Apply the recommended lubrication to the ball screw and linear guide rails, following the manufacturer's guidelines.
Following these steps will help ensure that your ball screw and linear guide rail combined system is properly assembled and adjusted for optimal performance and longevity. If you have any questions or concerns about the process, consult with a qualified technician or contact the manufacturer for guidance.
 +8615622924499
 +8615622924499

